
How to Descale Your Keurig Coffee Maker (The Official Keurig Guide)
Keurig coffee makers are one of the most popular brands on the market. They make a great cup of coffee and can be used for more than just that, such as brewing tea or hot cocoa.
However, there is an issue with Keurig machines: how do you descale them?
The problem is not limited to Keurigs; this problem has affected many other home appliance manufacturers who use water filters in their products. Herein lies your solution: reset your machine!
Key takeaways
- The Keurig descale light turns on when there is a build-up of mineral deposits, specifically scale, inside the machine.
- Descaling is essential to maintain the proper functioning of the Keurig and prevent issues like clogged water lines and slower brewing times.
- To descale your Keurig coffee maker, follow a step-by-step process that involves using a descaling solution, vinegar, or citric acid.
- Cleaning the exit needle is important if your Keurig still doesn’t work properly after descaling.
- If descaling doesn’t work, you can repeat the process with stronger solutions like vinegar or citric acid.
Why is the Keurig descale light on?
The Keurig descale light is typically triggered when the machine detects a build-up of mineral deposits, specifically scale, inside its internal components.
Scale is formed from minerals found in water, such as calcium and magnesium, which can accumulate over time and hinder the performance of the Keurig.
When the descale light turns on, it serves as a reminder for the user to clean the machine and remove the scale.
Descaling is essential to maintain the proper functioning of the Keurig, as scale build-up can lead to clogged water lines, slower brewing times, and potentially affect the taste of the brewed coffee or tea.
Following the manufacturer’s instructions for descaling, which usually involves using a descaling solution or vinegar and running a cleaning cycle, will help remove the scale and restore the Keurig’s optimal performance.
How to descale your Keurig coffee maker
1. Grab a bottle of Keurig cleaning solution, a large cup, and access to a sink

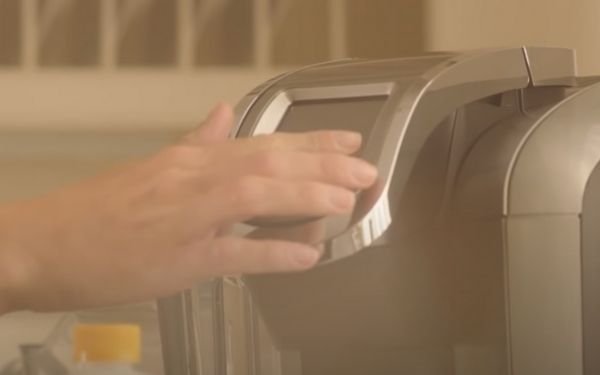
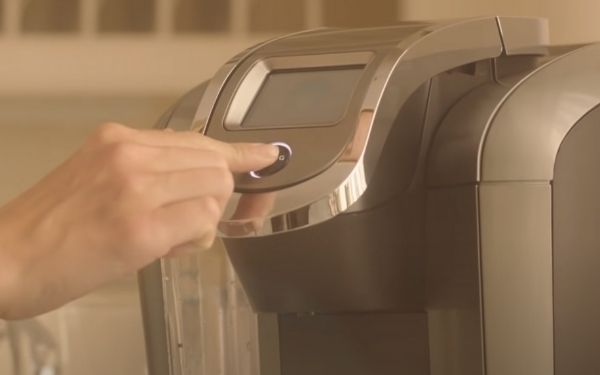
2. Power off the Keurig brewer
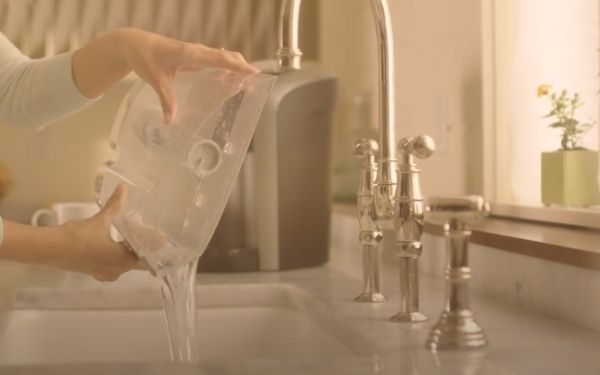
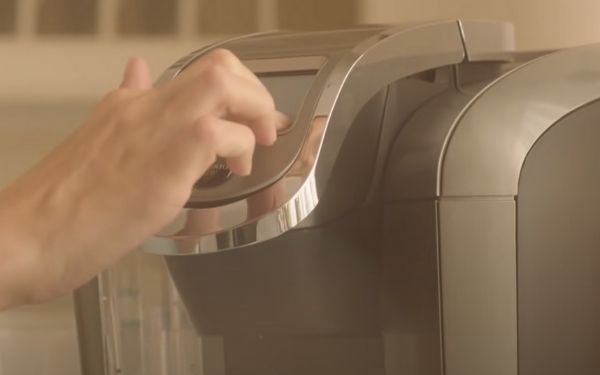
3. Empty the water reservoir
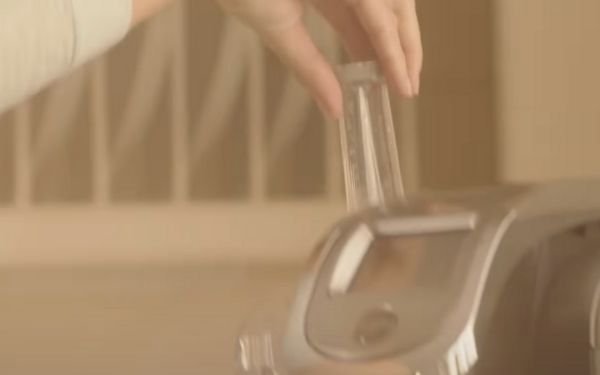
4. If your Keurig has a water filter, remove it and set it aside
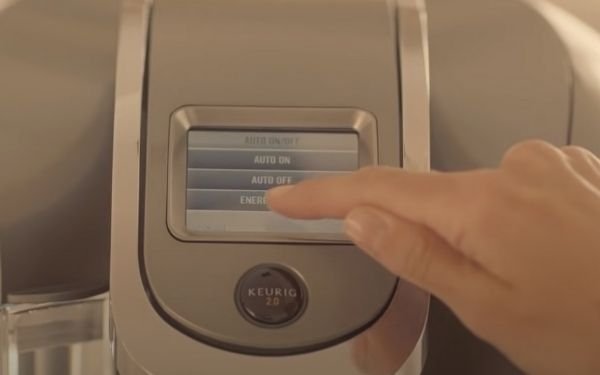
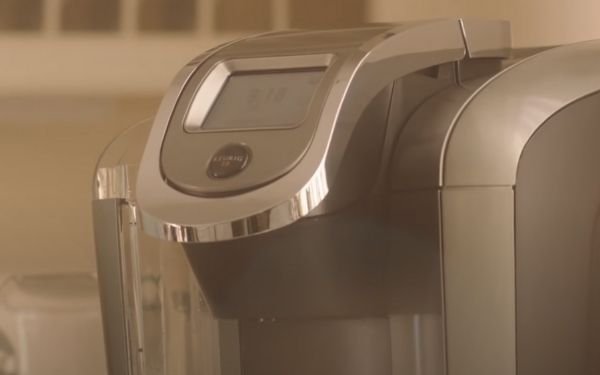
5. Disable Keurig’s auto-off features in settings to ensure uninterrupted operation
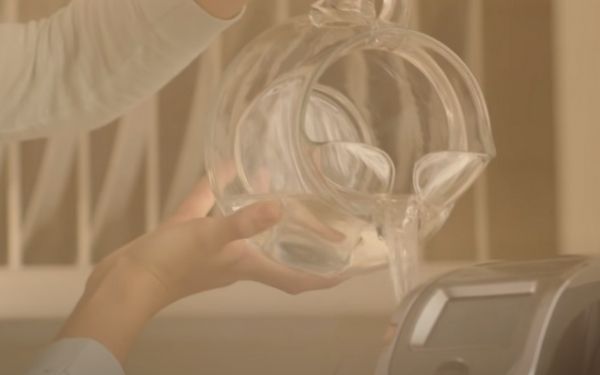
6. Pour the entire bottle of the descaling solution into the water reservoir
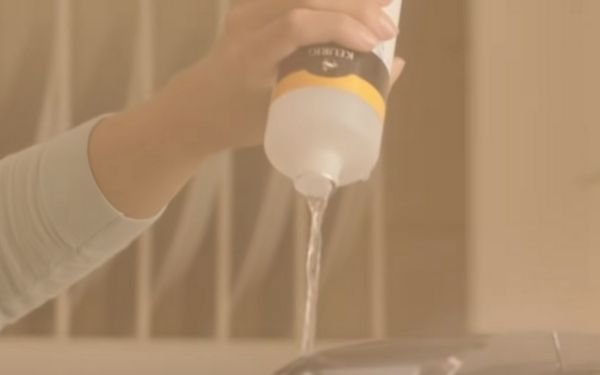
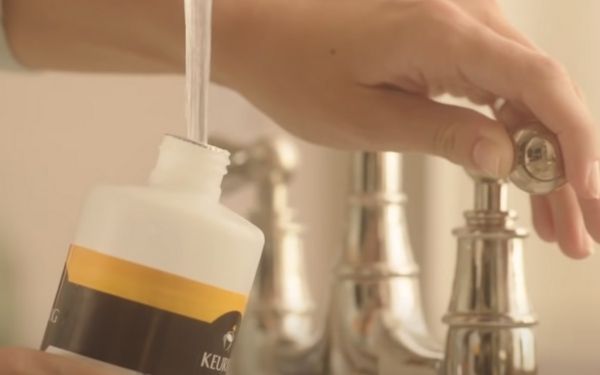
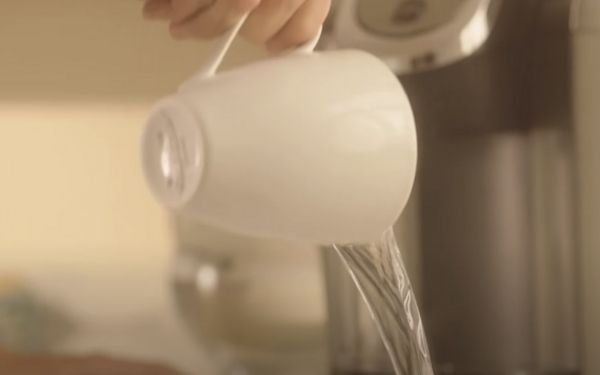
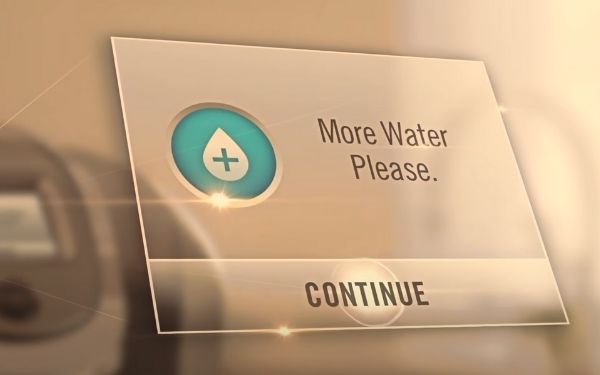
7. Fill the empty bottle with sink water and add it to the reservoir
8. Time to cleanse your brewer
9. Place the mug or large cup on the drip tray

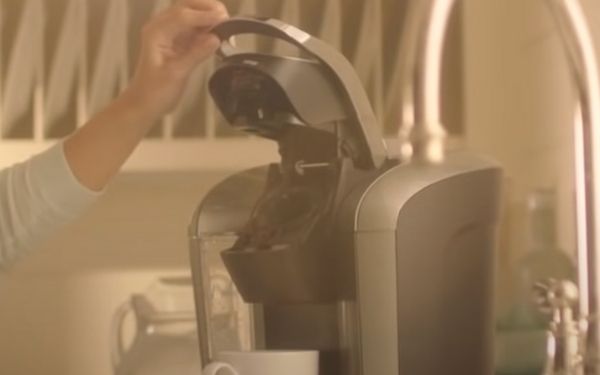
10. Open up the K-cup holder to make sure it is empty and then close it
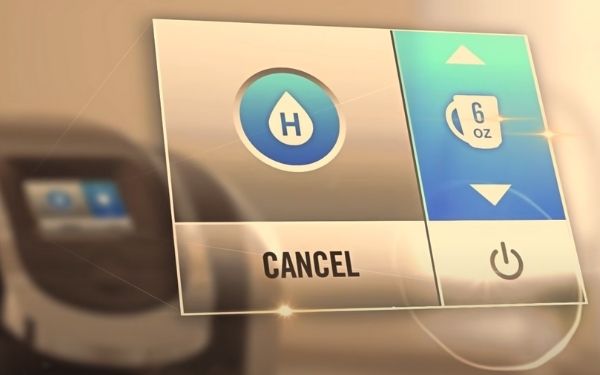
11. Press and hold the Brew button and allow the brewer to dispense up to 6 oz of water
12. With later models, you can set the Keurig to brew up to 6 oz on the control screen
13. Pour the the drained descaling solution and water into the sink
14. Repeat the process of brewing the descaling solution until the reservoir runs out
15. After you’re done, let the brewer sit for 30 minutes with the power on
16. Wash out any solutions that are still left in the reservoir
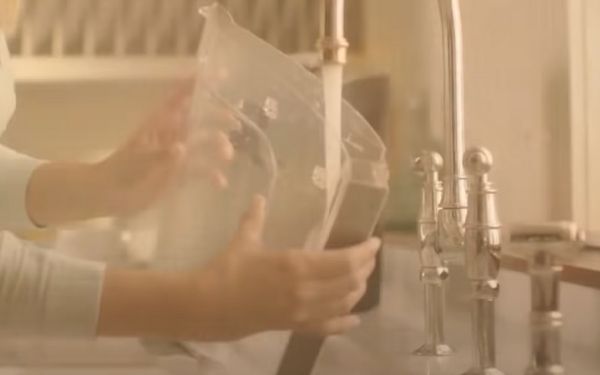
17. Pour fresh water into the reservoir and place it back into the brewer
18. Brew with just water 12 more times
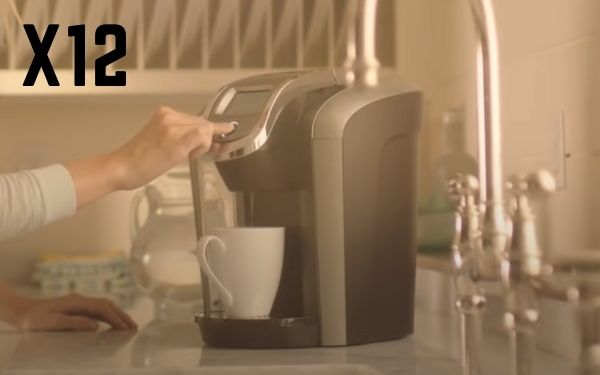
19. The descale light should no longer be on
You need to clean your Keurig exit needle
It is scaling your Keurig coffee maker still doesn’t work with all these solutions then you may want to take a look at the exit needle.
There’s a small needle at the bottom inside your K-cup holder. It’s the one that pierces through the bottom of your cup containing the coffee grounds.
Sometimes, if not descaled properly, this needle can become clogged and backed up. It’s similar to a sink that starts to build up and drains slower. In the needles case, it’s usually due to the coffee ground or gunk that just happens to build up every time you brew your coffee.
The solution to this is to find yourself a sewing needle or even a paperclip that is thin enough for you to push through the exit needle and unclog any vest that is inside of it. You have to make sure your needle or paper clip fits inside the exit needle.
While you are pushing it through the exit needle, just take notice of any resistance, and gently try to push through it. Dislodge any grinds that there are inside the needle.
This is a very delicate process and you don’t want to damage your exit needle. Be very gentle, and careful because you are working with with sharp objects.
There is also a needle located right above the pod that punches a hole through the top of the pod. You can use the same paperclip and run it around through that one as well making sure that you clear it out.
After you’ve finished descaling your Keurig and cleaning your exit needle, try and run another cycle of water through your Keurig to see if the descale light stays on.
What should I do if descaling doesn’t work?
In many cases, if your descale light still doesn’t turn off then it might be due to the fact that there is excess scale that has build up inside your brewer.
The solution to this would be to repeat the process of descaling with even more descaling solution. If you feel that the descaling solution isn’t caught up to doing the job, you can try ingredients that are a bit stronger but at the same time not harmful.
You can use vinegar and let it sit for an extra hour or two.
If that doesn’t work, you can also try citric acid which has properties that will directly break down any calcification and scaling that can happen inside your Keurig coffee maker.
You can repeat the steps mentioned above but instead of using descaling solution, you can use either vinegar or citric acid to do the job.
If you’re going to use vinegar, then we recommend using about a 50/50 ratio of vinegar to water in the reservoir. If you’re planning to use citric acid, we recommend creating a 20% acidic solution. This means that you’ll probably need to put in about 2 tablespoons of powder for every one quart of water.
How to descale your Keurig coffee maker with white vinegar
We know that the manufacturers descaling solution can be a bit expensive at times. There are alternatives like using white vinegar instead of the descaling solution.
If you’re interested in saving money, you can mix one part white vinegar with one part water. This means 50% of the concentration should be vinegar and the other 50% should be water.
You can either make a 14oz solution or you can just fill up the reservoir tank. Once you’ve poured it into the reservoir, follow the recommended steps to descaling your Keurig coffee maker.
When you are using white vinegar mixtures, be sure to allow your coffee maker to sit for a little longer than 30 minutes. We recommend to let it set for at least one hour so that it can properly break up the scale buildup.
How to descale your Keurig coffee maker with citric acid
Citric acid is a powerful substance that lowers the pH levels and allows it to be a great cleaner against mold, mildew, and even bacteria.
Unfortunately, it’s not much stronger of a cleaning solution than vinegar. We wrote an article on how to clean mold from your coffee maker here.
It’s also a very good ingredient for sanitizing, disinfecting, and cleaning. It has been known to remove hard water stains, calcium deposits, lime, and even rust. In fact, it is the main ingredient of Keurig descaling solution.
It won’t take much citric acid to form a proper descaling solution. You only need one to two tablespoons of citric acid powder in a full tank of the coffee maker reservoir.
Once you’ve created the reservoir mixture of water to 2 tablespoons of citric acid, run it through the steps listed above replacing the descaling solution.
How to descale your Keurig coffee maker with lemon juice
Running lemon juice through your Keurig coffee maker is probably the least effective and least economical method on the list. You could either squeeze over a dozen lemons into your Reservoir, or you can go to the store and purchase a bottle of pre squeezed lemon juice.
In terms of the scaly skin, lemon juice should be effective against the calcium buildup inside your Keurig machine.
One important thing you have to do is make sure you filter out all the seeds and the Pope that come from the lemon juice. You don’t want any of that to get inside of your Keurig coffee maker. This may be the one reason why we wouldn’t recommend using lemon juice anyway.
Based on some community recommendations online, we were told that a one to one lemon juice to water ratio is what you’ll need to descale your coffee maker.
Once again if you do choose this route (which we would highly not recommend), follow the steps above and make sure the solution is completely filtered and removed of any large impurities.
Can you shake your Keurig coffee maker to dislodge the scale build up?
There has been talk to online about how people successfully got their Keurig coffee machine to descale using the old slap around method. This method solely banks on the idea that if you hit your coffee maker a few times, the impact will dislodge the scale and cause the flow of water to return to normal.
In this scenario, it would probably only work if you have a massive amount of scaling in your coffee maker. It means that you haven’t descaled it in several months to even years.
Keep in mind that shaking or hitting your Keurig coffee maker and damaging it may end up voiding the warranty. We would not recommend this unless you are ready to buy a new one. New Balance
If you’re planning to attempt this approach, we recommend that you unplugged your coffee maker unit, remove the reservoir and any part that can be disassembled. Hold it upside down and shake it violently.
Again, we don’t recommend this method because it might cause even more problems internally.
How often should you descale your Keurig coffee maker?
According to the Keurig company, you should descale or clean your coffee maker at least every 3 to 6 months, if not, sooner. The company is under the assumption that you will use your Keurig once every day.
For people who use their Keurig more often than once a day, we recommend you descale your coffee maker at least every 1 to 2 months.
This will provide a richer and better brew when your coffee maker is clear of any scaling within it.
How to reset the Keurig Duo coffee maker descale light
Even after descaling your Keurig coffee maker, if you still see the light stay on, there may be a problem with something else.
If you’re wanting to turn off the descale light, all you have to do is hold down the 8 oz and 10 oz button for about 5 seconds. This will reset and shut off the descale light.
What causes scaling to occur in your Keurig coffee maker?
Your coffee pods are filled with ground coffee along with minerals and substances that can build up on whatever they touch.
You may not see it, but it will slowly build up until you do. Even water has some natural minerals and compounds inside of it that may end up hardening and accumulating on hard surfaces in due time.
This is a property of what is known as hard water. Hard water is known for its high levels of calcium and magnesium. The hardness of water is measured by the grains per gallon or GPG. It’s the amount of dissolved calcium and magnesium inside of a gallon of water.
Usually don’t have as much of a scheduling problem as homes with hard water.
Fortunately, scale is a non toxic substance that simply just hinders the performance of the flow of water in your Keurig coffee machine. That is why it’s important to regularly descale your coffee maker every one to three months, depending on how often you use it.
You can use anything from the company manufactured solution which is a citric acid based descaling solution, distilled vinegar, citric acid, or sometimes even lime juice.
How to prevent your Keurig coffee maker from scaling
Unfortunately, calcium and mineral buildup inside your coffee maker is a natural part of hard water and this is something that you can’t simply prevent.
One particular way to slow down the process of your coffee maker building up residue is to use soft water. Saltwater is the opposite of hard water and that it is devoid of certain types of minerals that may end up accumulating in your coffee maker.
Unfortunately the best way to remove all the minerals from your water is to use a process known as reverse osmosis.
Reverse osmosis removes up to 99.99 per cent of all contaminants which includes minerals from the drinking water that we are all used to. It removes a large molecules from the water and basically leaves it with just water alone.
Unfortunately, this process doesn’t run cheap. Many homes can be built with a reverse osmosis system and it will normally cost anywhere from $100 to $600 for a standard system. There are also some table top units that can cost around the range of $100.
It’s important to make your life easier by descaling your coffee maker as often as the manufacturer tells you to. We find that it is much easier to make sure that you descale your coffee maker on a regular basis rather than try to find ways to prevent it.
It will make the cleaning process much easier in the long run.
Other interesting articles: